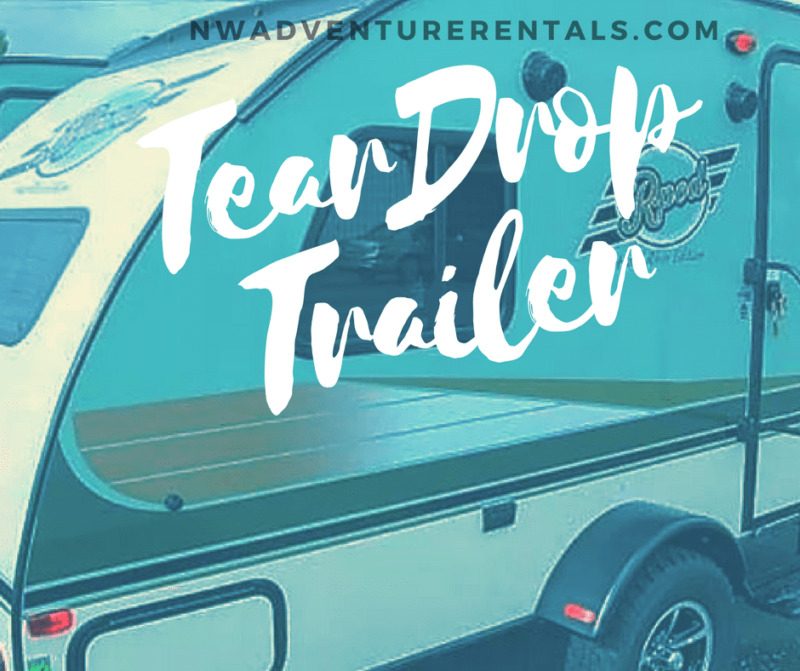
Classic Comfort Food on the Road – When in the RV
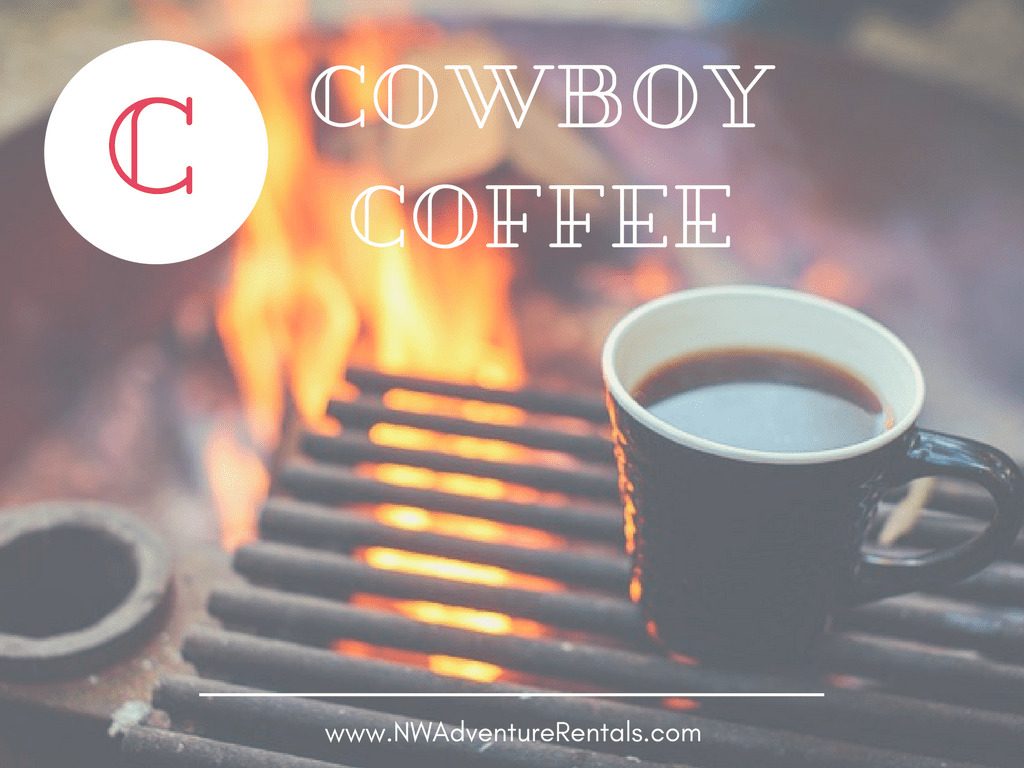
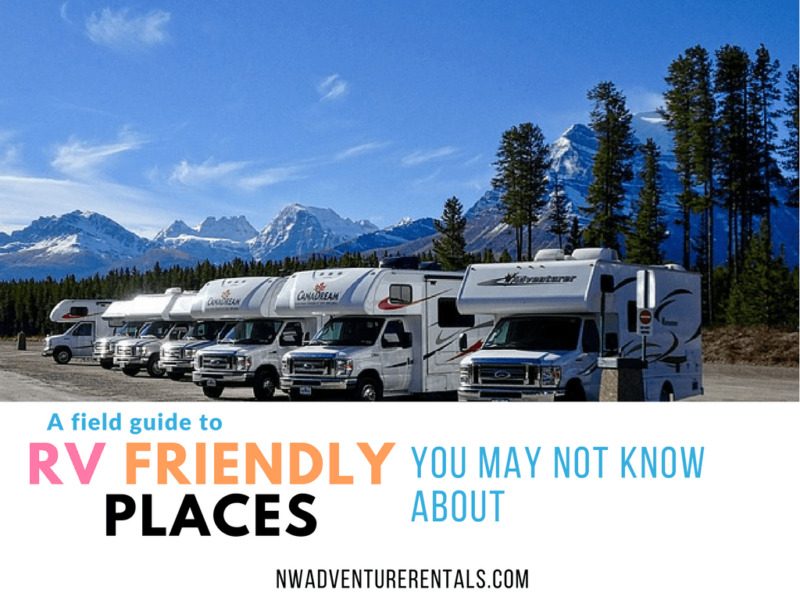
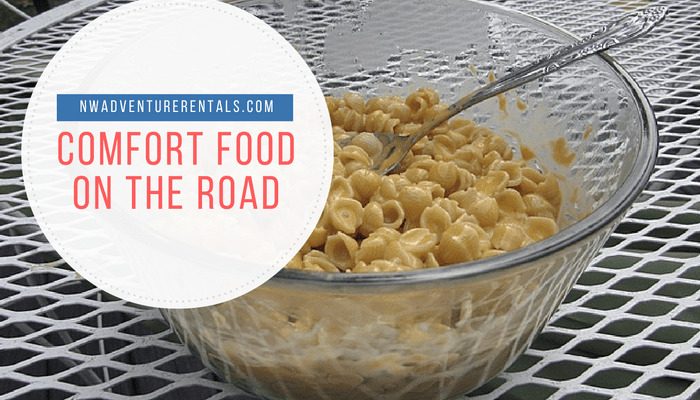
Classic Comfort Food on the Road – When in the RV There are so many great camping recipes out there today. Some people have turned cooking over a camp fire into an art, producing gourmet meals you could get in a five star restaurant. Meals are one of the things that bring us together and make a trip all the more enjoyable. A great meal can invoke feelings and a bad one can bring down the mood for a while. Here is a recipe for a classic comfort food (RV style) the whole family will enjoy, to make your trip even more special: Mac and Cheese that Begins on the Cooktop and Finishes on the Grill Ingredients You may have noticed there is a large amount of cheese in this recipe, this is not one of those quick light and healthy meals. It is a great comforting indulgence after a busy day of vacationing. After you have assembled all the ingredients you will want to heat up the grill. You can use charcoal or gas whichever you prefer. Make sure your heat is up to 350 degrees Fahrenheit. Step 2. Boil your macaroni on your RV stove top until its perfect for eating, drain and set aside while you prepare the cheese sauce. Step 3. Melt the butter in a large saucepan over medium heat, once melted whisk in the flour to thicken (about a minute). Whisk in 1 cup of the nonfat milk. Now add each kind of cheese while continuing to whisk rigorously. If the sauce is becoming too thick slowly add in the remaining milk until sauce is smooth again. When the cheeses are all in the sauce finish by adding the heavy cream, pepper, cayenne pepper, and salt. Step 4. Once the Sauce is complete it is time to stir in the elbow macaroni noodles and bacon pieces. Step 5. When all the yummy goodness is mixed together transfer it to a grill safe casserole dish and top with the panko and a little more cayenne pepper. Place the casserole on the grill for 12 minutes and you will have a cheesy gooey comfort meal with a crunchy top. *Alternatively you can use the RV oven to finish off the mac if you do not want to grill. Some of the best memories can be made on the road while renting an RV, especially from NW Adventure Rentals. Maybe this mac and cheese will become a family RV traditional favorite! For more information on renting an luxurious motorhome or travel trailer from our Seattle location, please browse our website or contact us anytime.